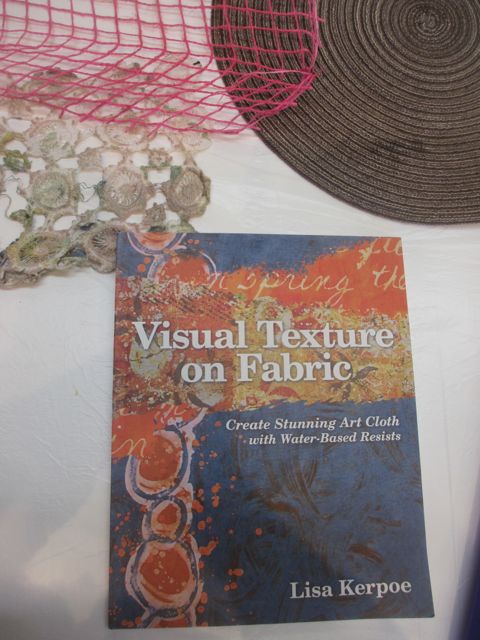
 January always seems like a good time to try new things in the studio. I spent time over the holidays reading Lisa Kerpoe‘s book, Visual Texture on Fabric, published in 2012. In it, Lisa clearly explains and documents using multiple types of water-based resists with various application techniques. I already use a number of water-based resists, but I always enjoys reading books on surface design and pick up a few ideas. Plus, it got me excited to get back into the studio and make some marks.
One idea from the book was to use objects, flatter is better, under the fabric and then use a brayer to pick up the texture of the object. I use lots of things as stencils and to print with, but I had never thought of using them this way. Lisa demonstrated the technique for applying resist, but I also wanted to try it with thickened dye too, to create related positive and negative marks.
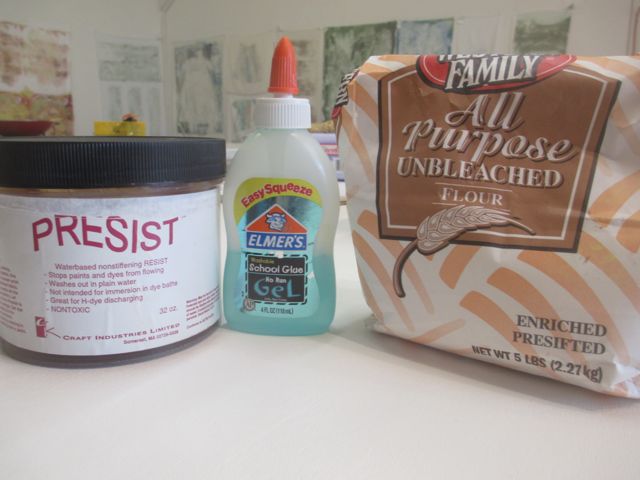
Presist, Elmer’s gel glue, and flour for resist
I used a circular placemat for the texture on my tests. I used three different resists: Presist (which is formulated specifically for fabric), Elmer’s gel glue, and flour paste. The Presist was easy to use, the foam roller picked it up easily from a piece of plexiglass, it went on smoothly, and I could see where I applied it. The glue went on well with the roller but it was impossible to see once it was on the fabric making it more difficult to use. The flour didn’t work with the foam roller at all, it just clumped up on the roller and didn’t transfer. I ended up just spooning it onto the fabric and then using a scraper to smooth it across the fabric to pick up the texture.
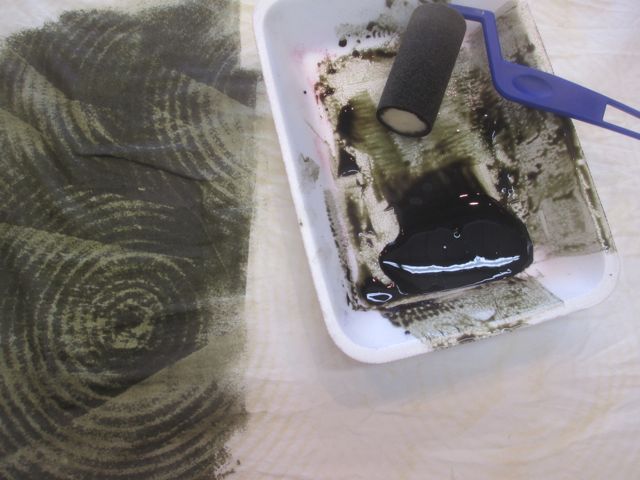
applying thickened dye paste over Presist.
After the samples dried, I used thickened dye (dye mixed into a print paste made with sodium alginate and urea) to paint over the resists. I then wrapped them in plastic to batch them overnight. All three turned out really well with varying effects. The Presist was the least strong resist, in that the dye color seeped through it. It probably would have held better if I hadn’t wrapped it in plastic, but I like the effect anyway–I’m not a big fan of white space. The glue held very well, surprising since I couldn’t see where the resist was at all. The flour worked really well, too, with its characteristic crackled marks.
While I had the dye paste made up, I tried laying the fabric over my textured objects and using the foam roller to apply the dye. It was a great success! I really love this new technique. Thanks for the tip, Lisa!
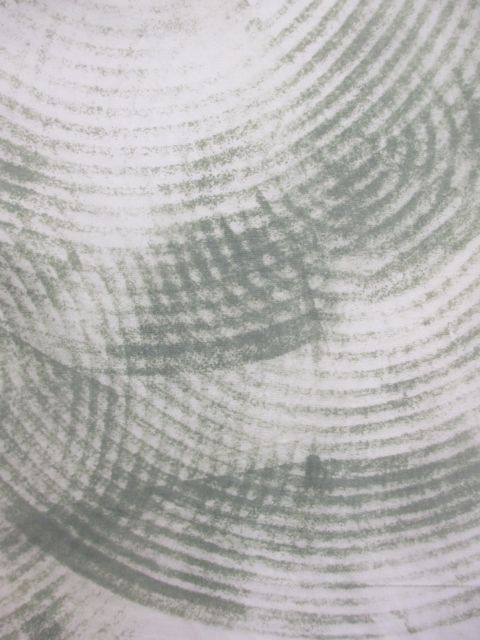
thickened dye applied with a foam roller over the placemat.
