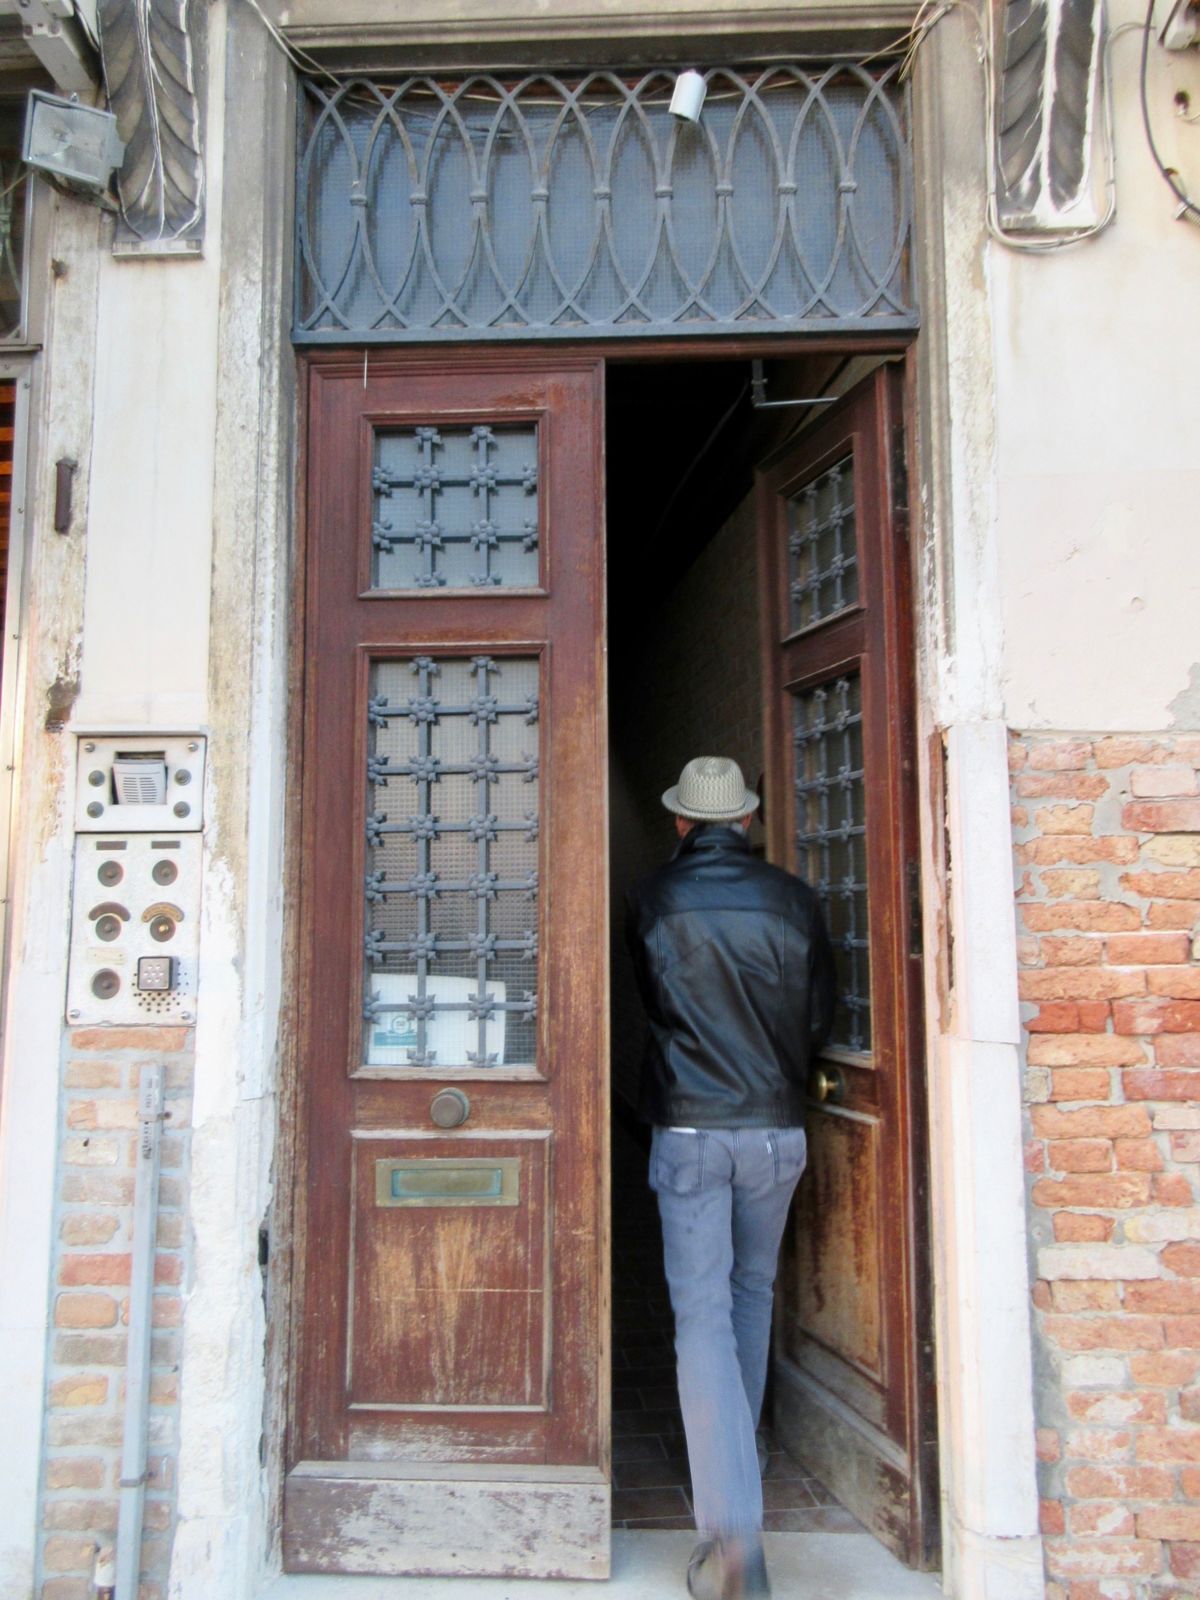
Author Archives: Cameron

I’ll Take Door #2

Our hotel in Venice

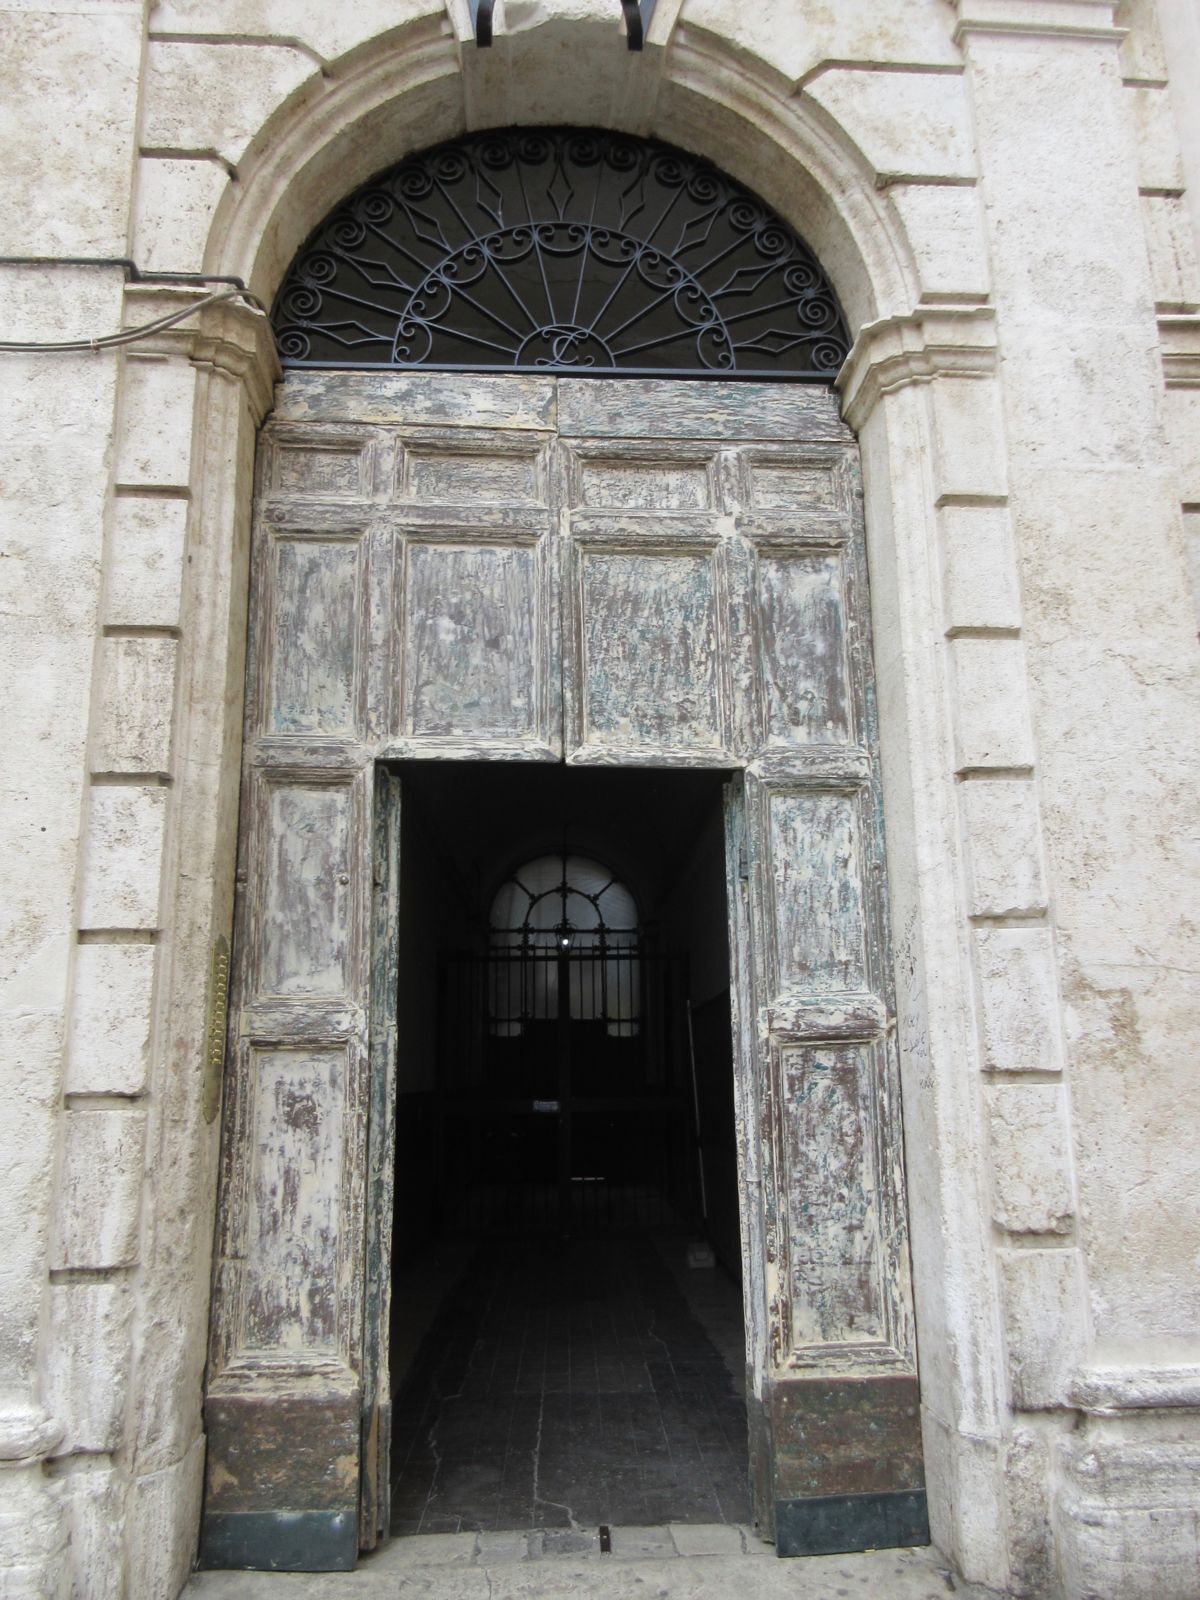
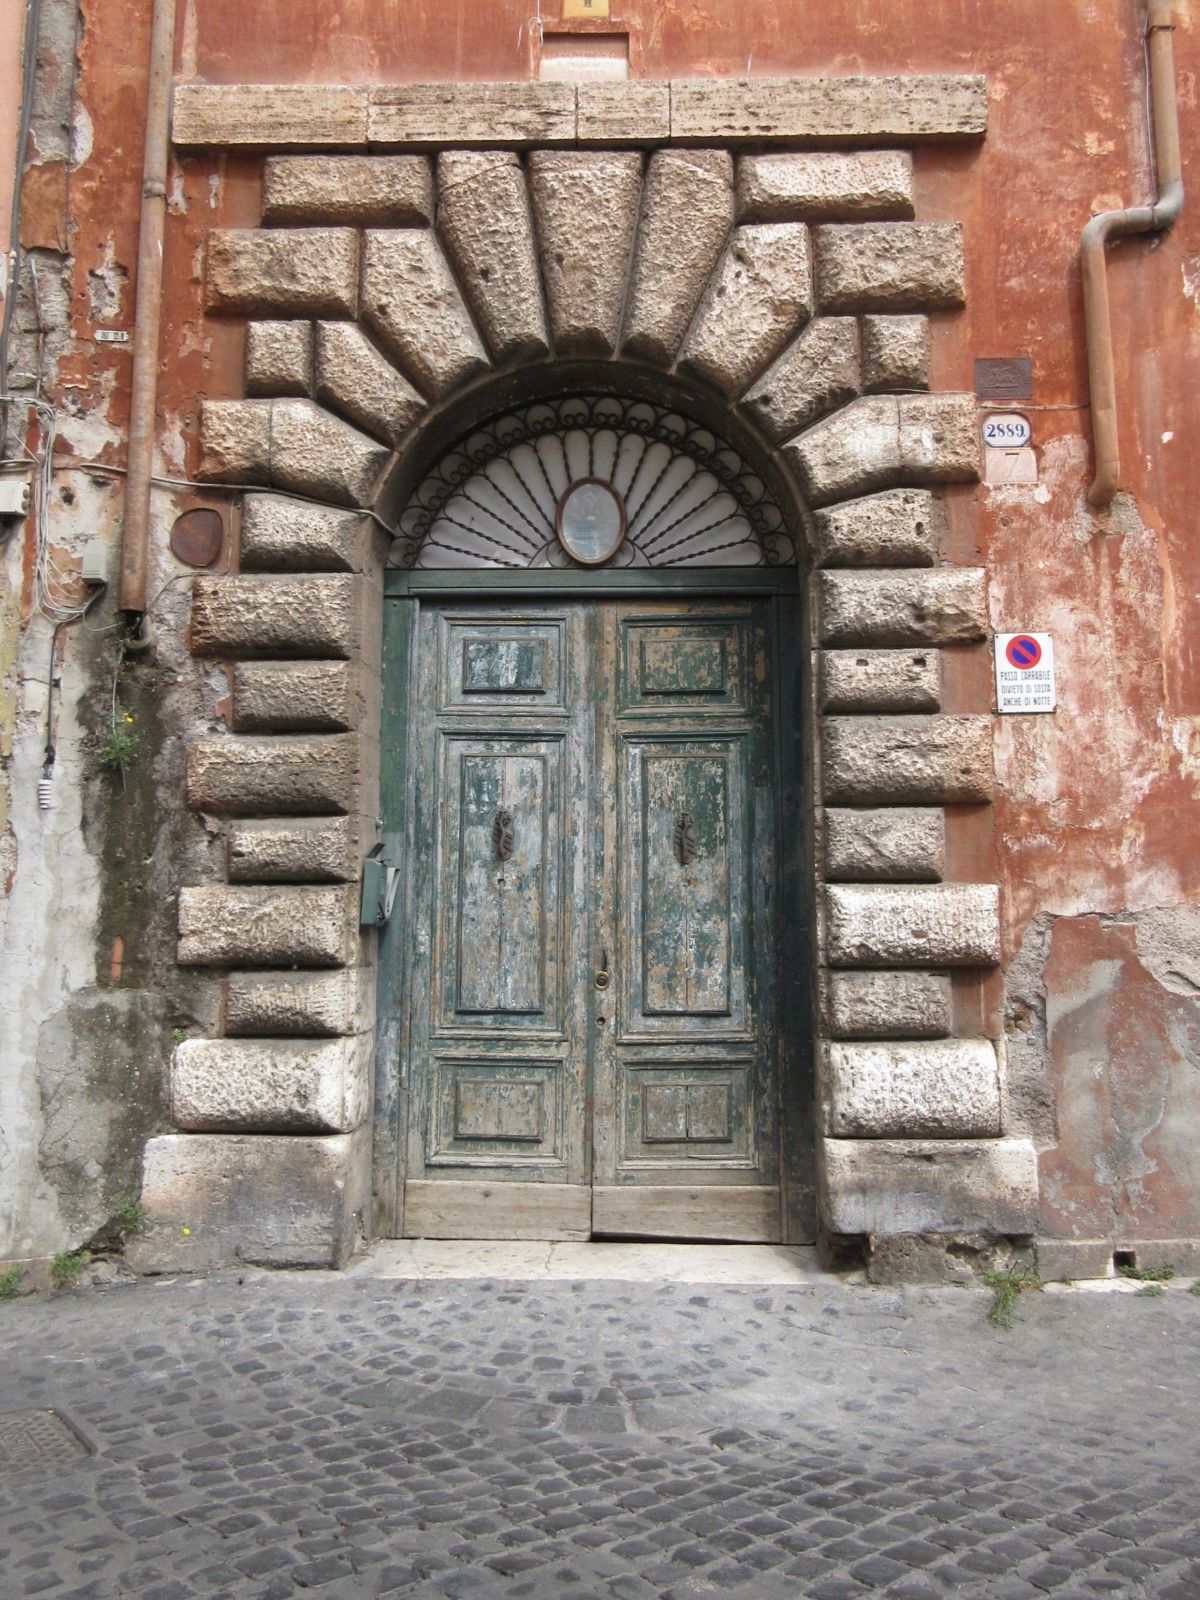
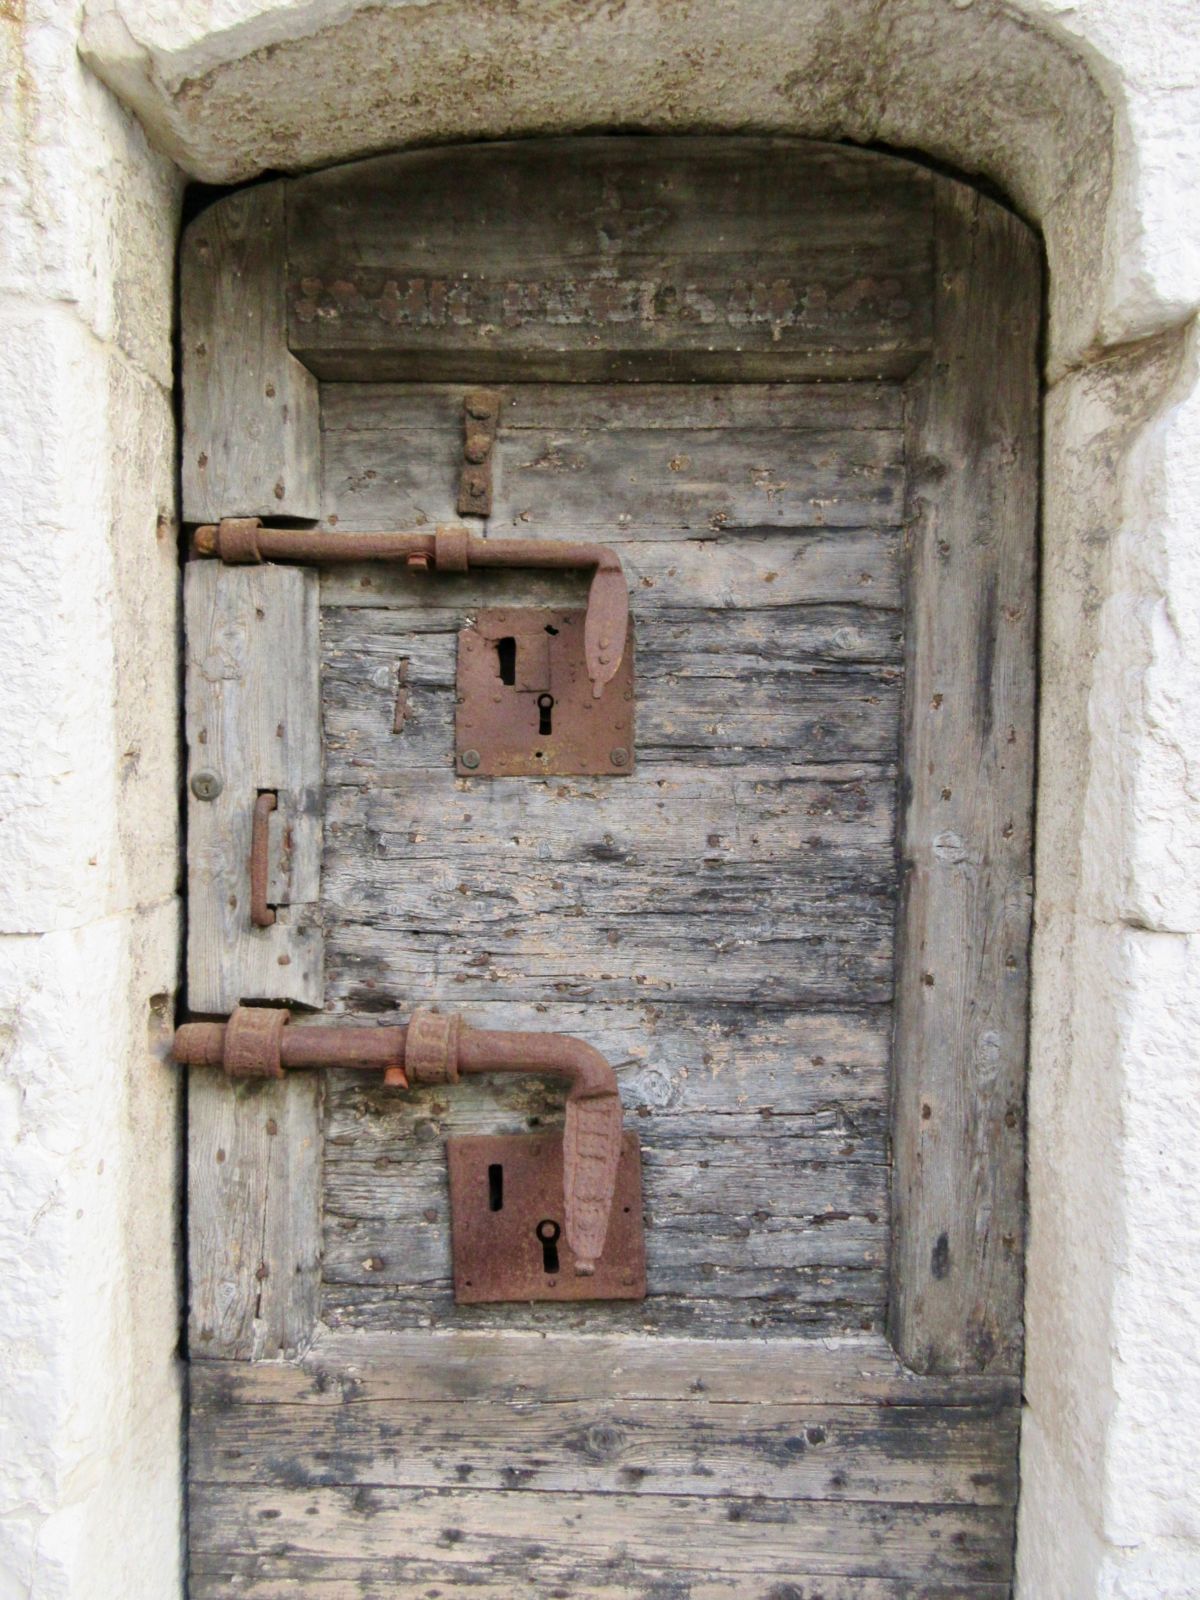
Sometimes you open the wrong door. Or a door leads you the wrong direction. Or the door opens onto another door, and another after that. Or sometimes the door is just locked and you don’t have the key.

Rome

I just returned from an amazing trip to Venice, Florence and Rome. It was my first, but it won’t be my last. I have fallen in love with Italy, the doors and windows, the food, the people, the ancient buildings and, oh yes, the art! All of art history, each layer built on the last, just like the buildings of the middle ages built on and over the rubble of the Republic, and the Renaissance rising from there. There’s nothing like walking through the ruins of ancient Rome, or among unfinished Michelangelos emerging from the stone, or standing in an entire room of Botticelli’s to have art history seep into your bones.

Rome

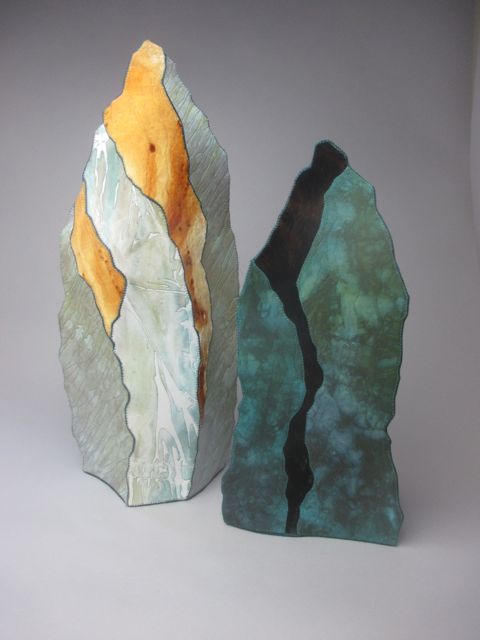
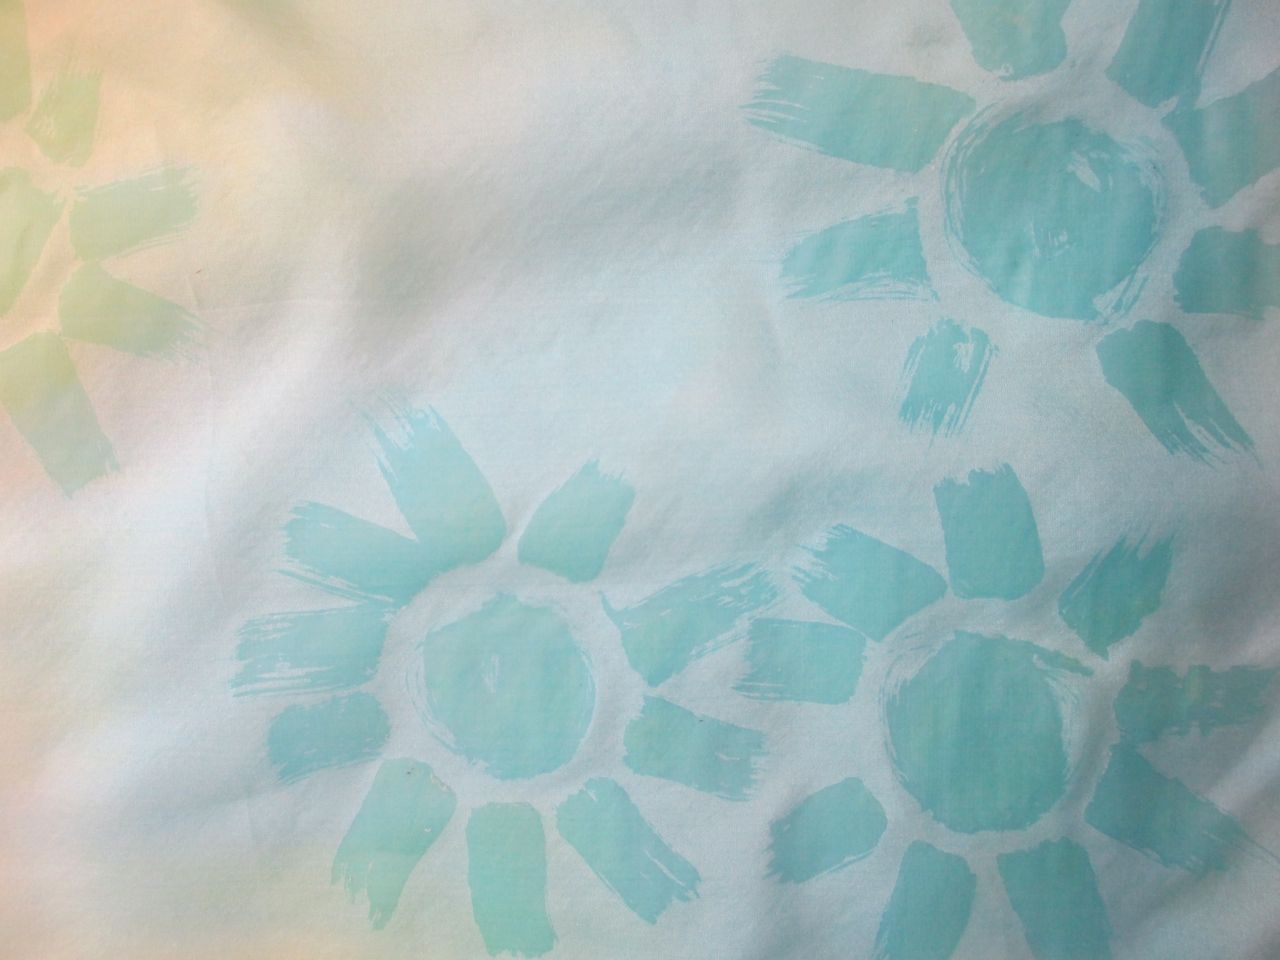
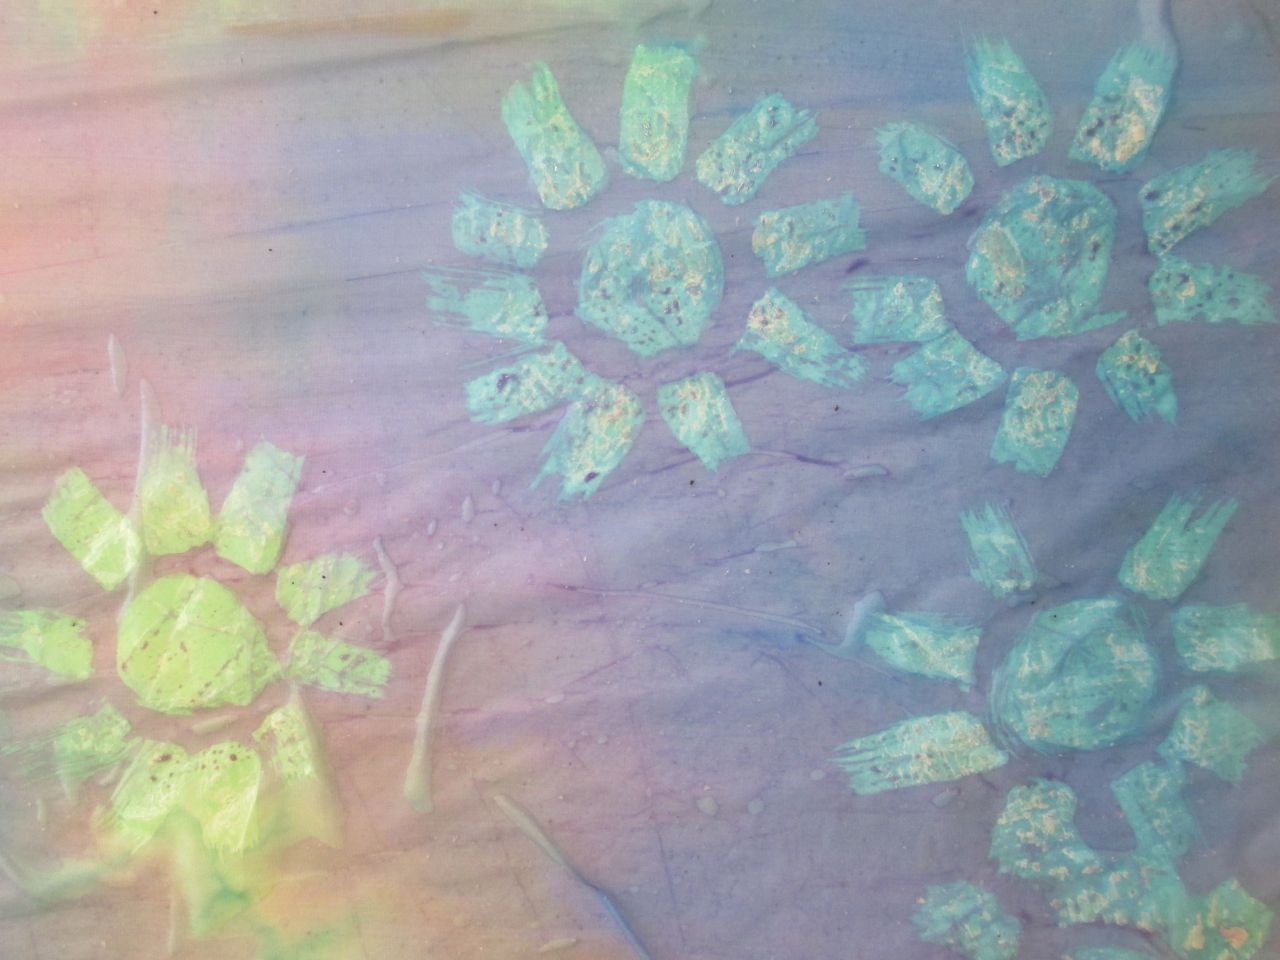
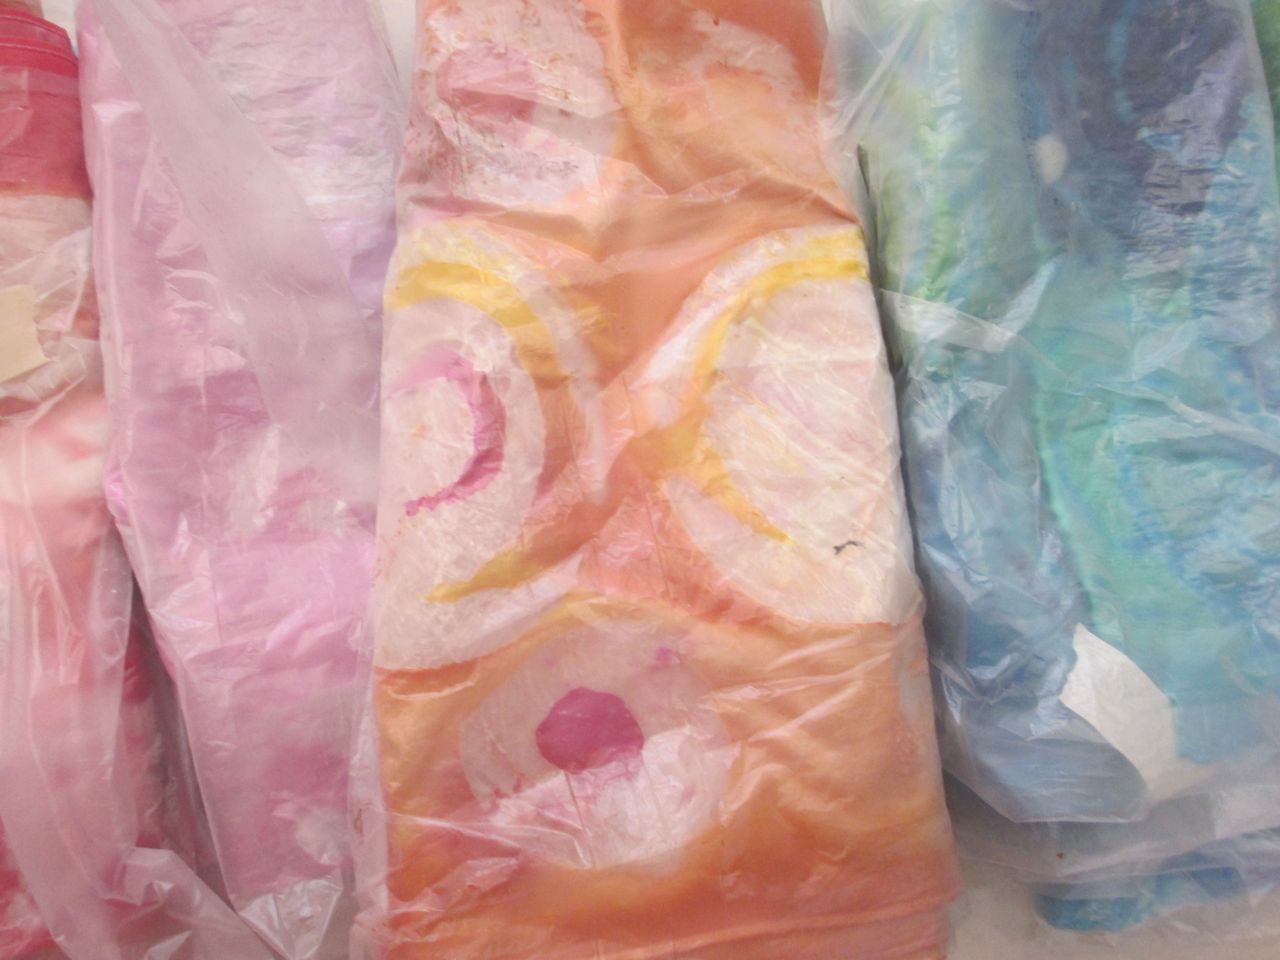
Just as travel broadens the mind, it can also give space and perspective on what we are doing at home in the studio. I have been stuck since January on one piece. It’s not working. I know it’s not working but I keep trying to make it work, kind of like trying to force open a locked door without a key. Getting some physical and temporal space away from it was good for me. By taking space I realized that I can just make a change–take away the parts that aren’t working and replace them. I know it’s not rocket science, but sometimes we can’t see those really simple solutions when we are in deep, listening to that evil twin on our shoulder that’s causing us to doubt everything we have ever made and ever will make.
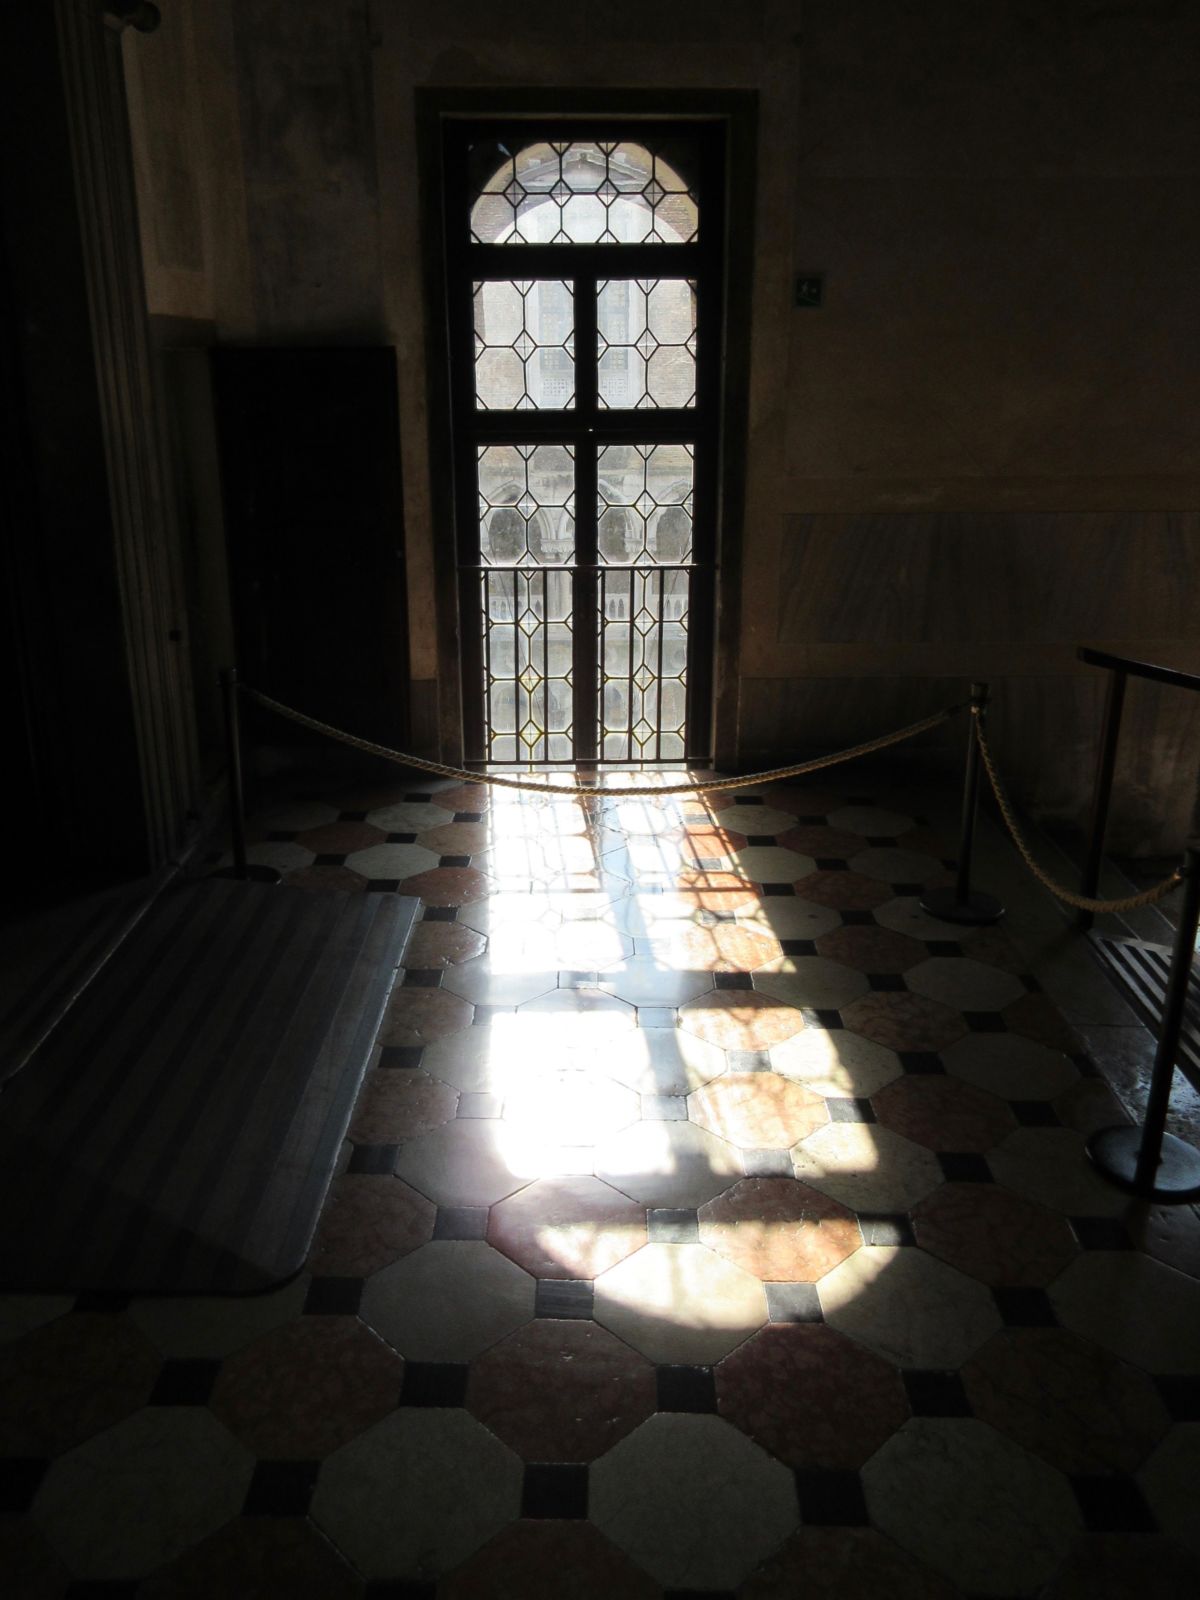
Venice

Most times we don’t have to go as far away as Italy to get that perspective. Sometimes a walk in the woods, or dinner with friends, or a trip to the library can have the same effect. Sometimes it’s better to stop fighting the piece that isn’t working, to move on to something that gives back a little easier. Take a day, or a week, or 5 months and a trip abroad like me, and come back when that key slips into your hand. Every lock is a little different.

Florence

Baby Steps

How do we find our way back when we’ve strayed from the path we want to follow? How do we reestablish practices we value when we have fallen out of the routine? How we face the elephant in the room, the fact that we are not making art?

Substitute the word “I” in the above questions and you will know right where I am.

I can blame all sorts of things: the election, family changes and challenges, middle-age. But I am still left facing this giant block that is keeping me from making. The longer I am away from practice, the larger that block becomes and no amount of telling myself to just “get over it” is working. For some reason, I am keeping myself from doing what I love.

So my plan is this—take baby steps until I find a path that feels familiar and welcoming. I am trying hard to be gentle with myself, not to blame, not to shame, but to allow myself to rediscover the wonder and genuine joy I find in working with materials and chasing that elusive flow.

I am giving myself permission to make lots of ugly stuff, to just stop stopping myself. I know that I will make again. This block is familiar, but it feels bigger than ones that have come before. I will fumble in the dark to until I find my way.

And tomorrow I leave for my first trip to Italy! My husband and I will travel to Venice, Rome and Florence. We will immerse ourselves in art, culture, food and wine. I aim to explore the back streets and get lost, to drink it in with all my senses, and to enjoy time with my love. And of course, I will take many pictures.

And when we return, I will take  baby steps all the way back to the studio.

Just making marks

Fall Cleanup

fall leavesNovember already?

This Fall I started with new energy to work on my house, my garden and my studio. It’s a time of transition with my solo show over and my youngest at college. Summer trips are only photos and memories. And though not much is visible on the outside, the work has been happening on the inside. I’ve made some trips to Goodwill. Filled the recycle bin. Done some pruning and weeding. Made plans to get a new laptop and be more organized with my photos and web presence.  Working on updating my website.

The thing is we are never finished. There are always weeds, piles of paper, a cluttered corner. At some point we have to stop clearing up the past and move into the future. The studio is almost clean. The garden is passable. Website is almost to updated. Here I am working on a new blog post!

It’s time to transition into working in the studio. Along with my continuing plans to tackle that mess in corner, restretch silk screens, update my sample books, and relabel my binders I am going to start making  marks and taking risks by doing some printing.

Here’s a list I made of ideas to try:

Monotypes on paper
on fabric
on fabric collage
stitched paper
with opaque paint
stitching before and after
on felt

Marks inspire marks, materials inspire materials. Here I go!

clutter in the studio

There’s always a cluttered corner

In the Thick of It

IMG_5607

I am in the thick of creating new work for a solo show in July, Branching at Foster/White Gallery. Time is ticking away as it inexorably does and I am fighting to stay above panic every day. I just finished three pieces, got them photographed, and wrote my artist statement. It seems early for all this but the gallery needs them to be able to promote the show.

I’ve discovered that the great thing about writing an artist statement so early is that it becomes a mission statement for the work to come. Of course, yesterday I started some new drawings and immediately worried that they didn’t fit my statement. But that’s okay, too. I can revisit it once I get further into the work and add a few lines if needed.

I feel clear on the overall theme though. It is broader for this show than the last two solos I had at Foster/White. Branching refers to trees, yes, but also to the fractal patterns that make up our world: the way a river bed splits, the way our lungs are a mirror image of the trees shape but upside-down, the path of the lightning strike and the neurons in our brains, and the cracks we step over in the sidewalk. Even on the surface of Mars we see branching patterns of ancient river beds. The pattern travels further, into the language of technology and the way we speak of our family trees.

IMG_5698For now, I’ve been drawing lots of pictures of rocks. On my recent trip to Mexico I stayed on a beach where a rocky headland met the sea. This location yielded many hours of contemplation as the waves crashed and receded, and many photographs. My family is amused by my preoccupation with taking close-ups of rocks and ferns, leaves and driftwood. I am drawn by these natural patterns. They feed me and inspire me as much or more than the broad vistas.

When I am back in the studio, I sigh over the photos I took of of blue skies and the sea, and the happy relaxed faces of my family. But it is in the detailed images of rocks and pattern that I find my compositions. Today, tomorrow, and for the next 12 crazy weeks, I will be deep inside these images. I will be chasing and trying to grab onto those ephemeral experiences to fix them onto wooden panel or into a three-d sculpture for everyone to see.

IMG_5710

In a Whirlwind

IMG_4492Last Fall I figured the time was right to expand Whirlwind Hand-Dyes by taking on a business partner and expanding into on-line sales. Since then I’ve been hatching plans with my wonderful former intern from the UW, Arisa Brown. Arisa and I get along great and work together wonderfully. I bring my current product line of hand-dyed fabrics and accessories, Arisa brings her experience in retail sales, and we split the labor of producing the hand-dyed products.

Arisa has already set up an Etsy shop for my hand-dyed scarves. Look for WhirlwindHandDyes there. It’s been slow to start but it’s giving us time to figure out how to promote and run it. On-line offering of the fabrics will be coming in May.

IMG_4478

Straight out of the washer.

This past week Arisa and I dyed, washed, ironed and packaged over 100 yards of fabric for an in-person sale at Lorraine Torrence’s Retreat in Gold Bar this Friday. Arisa is coming with me so that I can introduce her to Lorraine’s students, who have been terrific supporters of my products and become friends, too.

IMG_4484

The Jewel Tone Collection in brights and pastels before ironing.

We have simplified our color options but added a second fabric to the product line. We now have a crisp mercerized cotton broadcloth that takes the dyes beautifully along with the Kona cotton I’ve been using, which has is thicker with a softer drape. We have eleven color ways in both bright and pastel values in two different fabrics–so 44 options all together PLUS what’s left over from previous sales.

IMG_4505

All the kids came to the studio while we worked this weekend, Toby, Frankenstein, and Eden.

I’m excited for this new venture. I’m also looking forward to the Whirlwind passing by, and getting back to my studio work for this Summer’s upcoming shows.

Let me know if you are interested in our products or have feedback about fabrics and color ways. Even though we don’t officially have on-line fabric sales going yet, I can hook you up.

All ironed and ready to package.

All ironed and ready to package.

The Great Northern

great northern

Looking down the tunnel, photo by Stefano Catalani

Last week I had the great pleasure of working with Rick Araluce on the finishing touches of his installation, The Great Northern, at MadArt in Seattle. I’ve been a big fan of Rick’s since I saw his installation, Uprising, at Suyama Space. Rick plays with scale to help us really see what surrounds us, usually something plebeian like a stack of pallets in front of an eroded brick wall. Sometimes the works are miniatures and sometimes larger than life, but all are meticulously crafted and just a little bit creepy. He’s a truly gifted artist whose day job as a scenic artist at the Seattle Opera contributes to his ability to create magical deception.

IMG_4349

Rick and Lara Ann laying out the ties

So when I found out that Rick was creating a half-size scale replica of the train tunnel that runs under Seattle in the MadArt gallery space, I was determined to lend a hand. A little bit pushy, even. Rick knows my work and that I’m pretty detail-minded myself, so he invited me to come down and help.

IMG_4352

Affixing the ties, notice knife for scale

I spent the first day with Lara Ann, a student at Cornish, laying out the rail road ties, sized from 7/16″ to 3-5/8″ wide and then affixing them to the floor. When I returned two days later, Rick had laid the rails, and Lara Ann and I spent the day on our knees packing gravel in between the ties and rails. We gradated it in size from playground sand in the very back of the tunnel to 1/4,” to 3/8,” and finally to 5/8″ to keep the illusion of the forced perspective. I relate to the gestalt of taking care of every detail. Probably no one will ever see some of those details, but they are sure to sense if something is wrong.

IMG_4353

playground sand for gravel at the end of the tunnel

It was fun to be down at MadArt, too. I was an artist in the first MadArt project, creating The Act of Becoming as part of The Window Art Project. I got a chance to catch up with Alison Milliman, the Founder and to get to know Tim Detweiler, the Director. The have a great mission, supporting artists creating large-scale installations. I really got more credit from them than I felt I deserved for my contribution, but there’s a lot to be said for showing up at the right time with the right attitude.

I have been so lucky in my work to have fabulous volunteers help me realize my own large-scale projects. It felt good to give back, paying it forward, or backward, or something like that. It was fun to just show up and help Rick, and not have to do the hard work of planning or thinking, but just putting in time and labor. It’s like my long ago days in theater, or working on the Solstice Parade, where everyone does their part to make the whole.

IMG_4362

I’ve been working on the railroad.

And really, although the work itself was somewhat grueling, there was plenty of joy in it, too. While I was working in the back of the tunnel, brushing tiny gravel fragments between the ties with a brush, Scott Bennet who designed the sound and lights for the installation and Rick were fine-tuning the sound. Inside the tunnel, hearing the sound of a train approaching from a distance and then retreating over and over again, I experienced a little shift in reality. For a moment, I was a giant in relation to my surroundings, filling the Great Northern before the moment passed, and I was myself again.

And then there was the laughing. Rick is the funniest Guggenheim Fellow I know. Anytime Dude, really.

The Great Northern
Exhibit: January 17th-February 27th, 2016
Hours: Wednesday-Saturday, 12-6pm (and by appointment)

Welcome to the Lab, Part II

IMG_5149

dyed samples in the studio

A few months ago I ordered a new product, Color Magnet, along with my usual dyes and chemicals. It’s a “dye attractant,” supposed to create darker color on fabric where it is applied. So, I thought I’d try it out.

Color Magnet from Jacquard

Color Magnet from Jacquard

I tested it on both cotton and silk with four mixed dye colors: Kingfisher Blue and Lime Squeeze from Dharma and Butterscotch and Olive from ProChem. I didn’t use a silk screen, but applied the Color Magnet with a brush and with a foam roller using a stencil over the fabric and one under the fabric (my new round placemat). Once it dried I used a light shade of the dyes for immersion. I added a “Fix Mix” to my dye rather than soaking it in soda solution because the Color Magnet would probably dissolve in the soak.

into the dye bath!

into the dye bath!

The results, as you can see above, were really cool! On the cottons the marks showed up as a darker value of the dye color. On silk, because of the way the dye molecules react with the fiber molecules, the color actually shifted to one closer to the color on cotton. Super interesting. This is definitely a product I will use in my work. It gives some of the effect that you would get by using discharge (but reversed) but without the nasty chemicals.

But how does it work? Anyone out there with more chemistry know-how able to explain it?

silk at the top and cotton on the bottom, both dyed with Olive

silk at the top and cotton on the bottom, both dyed with a light shade of Olive

Welcome to the Laboratory

IMG_5143January always seems like a good time to try new things in the studio. I spent time over the holidays reading Lisa Kerpoe‘s book, Visual Texture on Fabric, published in 2012. In it, Lisa clearly explains and documents using multiple types of water-based resists with various application techniques. I already use a number of water-based resists, but I always enjoys reading books on surface design and pick up a few ideas. Plus, it got me excited to get back into the studio and make some marks.

One idea from the book was to use objects, flatter is better, under the fabric and then use a brayer to pick up the texture of the object. I use lots of things as stencils and to print with, but I had never thought of using them this way. Lisa demonstrated the technique for applying resist, but I also wanted to try it with thickened dye too, to create related positive and negative marks.

IMG_5134

Presist, Elmer’s gel glue, and flour for resist

I used a circular placemat for the texture on my tests. I used three different resists: Presist (which is formulated specifically for fabric), Elmer’s gel glue, and flour paste. The Presist was easy to use, the foam roller picked it up easily from a piece of plexiglass, it went on smoothly, and I could see where I applied it. The glue went on well with the roller but it was impossible to see once it was on the fabric making it more difficult to use. The flour didn’t work with the foam roller at all, it just clumped up on the roller and didn’t transfer. I ended up just spooning it onto the fabric and then using a scraper to smooth it across the fabric to pick up the texture.

IMG_5139

applying thickened dye paste over Presist.

After the samples dried, I used thickened dye (dye mixed into a print paste made with sodium alginate and urea) to paint over the resists. I then wrapped them in plastic to batch them overnight. All three turned out really well with varying effects. The Presist was the least strong resist, in that the dye color seeped through it. It probably would have held better if I hadn’t wrapped it in plastic, but I like the effect anyway–I’m not a big fan of white space. The glue held very well, surprising since I couldn’t see where the resist was at all. The flour worked really well, too, with its characteristic crackled marks.

While I had the dye paste made up, I tried laying the fabric over my textured objects and using the foam roller to apply the dye. It was a great success! I really love this new technique. Thanks for the tip, Lisa!

IMG_5162

thickened dye applied with a foam roller over the placemat.

It’s a New Year!

The studio, all cleaned and organized and ready for a new year!

The studio, all cleaned and organized and ready for a new year!

It’s the new year, a time to look back and a time to look forward.

2015 was a tough one for me as an artist. I spent most of it stuck, still spinning from the mental exhaustion of my 2014 installation at Burning Man. Every call-for-entries resulted in a NO, and I just couldn’t seem to finish anything. In retrospect, and from talking to friends, I was also processing the transitions of my daughters leaving the nest. My older daughter flew off to college in the Fall of 2014 and my youngest is a Senior this year. It’s a big, this change, and if you are going through it I advise you to be gentle with yourself.

Even though 2015 wasn’t the most productive year from me, there are some highlights.

I taught a lot of Batik Scarf Workshops, this Spring through Side Tour and this Fall on my own. I also continued developing inventory for Whirlwind Hand-Dyes and Accessories. I really enjoy having people in the studio and meeting them at sales. It’s nice to make some money, too. The biggest challenge is still getting the word out. It’s yet another hat to wear.

Francesca working on her scarf inspired by an Indian textile design.

Francesca working on her scarf inspired by an Indian textile design.

Returning to Burning Man this August was a big step in getting back to my more productive self (you can read about that trip in my blog post, Burning Man Revisited). September saw me reenergized with the resolve to just git ‘er done.

I deepened my relationship with the Surface Design Association, both through continuing to write for the Surface Design Journal, and through attending and presenting at Made/Aware, an Intensive at the Arrowmont School of Art and Craft in Tennessee (see October blog posts for more on that adventure). I am now a “staff writer” for the Journal, compiling previews of upcoming exhibitions for a new feature called On Display. SDA provides a terrific way for me to connect with other artists and curators working in fibers both at the national level and through our local group.

Somehow I extracted myself from my navel gazing long enough to finish up seven new pieces in time for a December show at Foster/White Gallery (deadlines really help). That work has led to scheduling a solo show for August 2016! I’m also firming up plans for an installation in the Bellwether Sculpture Exhibition in Bellevue this Summer.

Sequim and Ozette

Sequim and Ozette

Looking ahead to 2016:

Solo show in August at Foster/White Gallery. I’m drawing, planning, looking at images, testing out new surface design techniques, and actively thinking about composition and color for a new body of work.

A week-long trip to the southern tip of the Baja Pennisula in Mexico in February for inspiration, relaxation, and dose of sunshine. Some family trips in the work, too, perhaps Washington, DC and a wedding in California in October.

More teaching (see Workshops page for information on upcoming Intensives).

Expanding Whirlwind Hand-Dyes with the help of my former intern and delightful studio assistant, Arissa, to an on-line store and more in-person sales.

Continuing working with the fabulous Marci Rae McDade at the Surface Design Journal.

And most importantly, getting out of my own way and creating more art!

New wheeled fabric organizer for easy access.

New wheeled fabric organizer for easy access.

Batik Scarf Workshops at Building C

06

Melissa finishing up her 4th scarf of the day!

Yesterday I taught back-to-back Batik Scarf Workshops at my studio. Nine students made 31 scarves over the course of the day. It was a batik factory!

Marketing is not something that comes easily to me and registration for the classes has been slower than I’d hoped. But it all came together with two groups from many different lists, so I must be doing an okay job at getting the word out after all. All of them brought their creativity, openness to new techniques and materials, and sense of fun to the studio on a rainy Seattle December day.

There are still a few spaces available for the workshops on Wednesday, 12/9 from 6 to 9pm. You can register on my Workshop page. There may also be space available on Saturday, 12/12 from 10am to 1pm. Contact me directly if you are interested in that date.

Below are some images of from our fun studio day.

01

Barbara working at the Waxing Station

Mimi's scarf with wax over one layer of dye.

Mimi’s scarf with wax over one layer of dye.

Mimi's scarf after adding a second layer of dye.

Mimi’s scarf after adding a second layer of dye.

Francesca working on her scarf inspired by an Indian textile design.

Francesca working on her scarf inspired by an Indian textile design.

Finished scarves waiting for the washing out process which I do for each scarf made in the Workshops.

Finished scarves waiting for the washing out process which I do for each scarf made in the Workshops.