 I’m new to gelatin printing, both with the Gelli Plate and by making my own gelatin plate. I’d heard about it for several years but thought, why not just use a sheet of plexiglass? I bought a Gelli Plate about a year ago on a whim. It was kind of spendy, $30 for an 8 x 10 inch sheet, but I thought I’d try it out. I took it home and promptly forgot about it.
Sometimes when I’m feeling a bit dry in the studio I’ll pull out paper and ink and do some monotypes. A few weeks ago I bought a bunch of paper with the intention of just getting some ideas down on paper to free things up in the studio and I rediscovered the Gelli Plate.
Wow! It’s really fun and kind of addictive. I pretty quickly went through about 200 sheets of paper. I like the marks I made with Speedball water-soluble ink. The Gelli Plate picks up really great detail and makes terrific “ghost” prints so that I can work with positive and negative imagery.
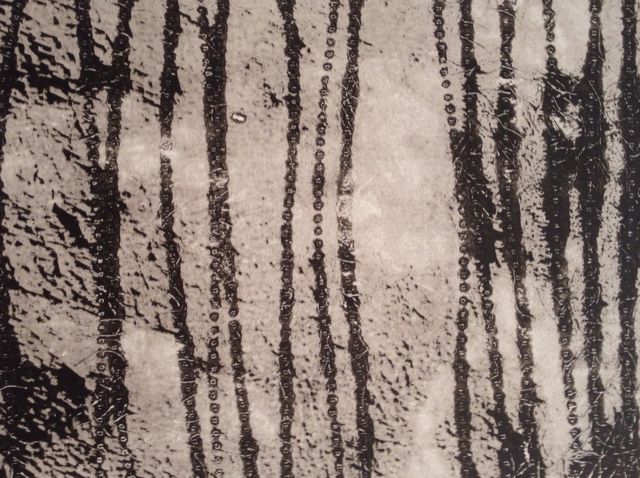

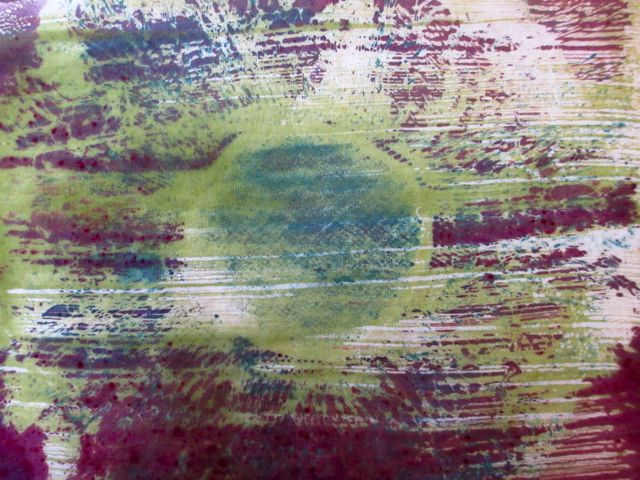
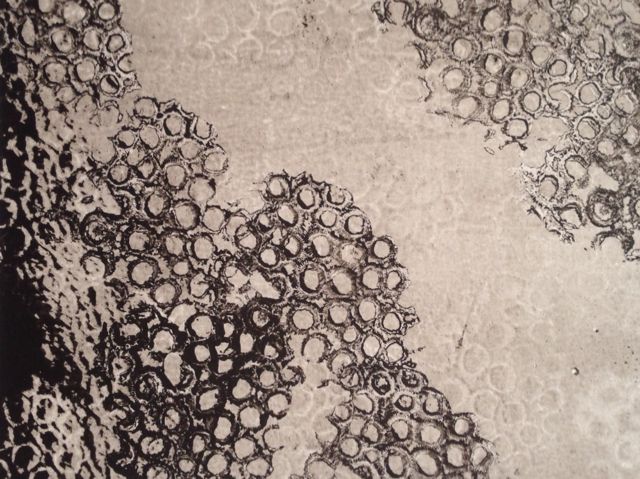 Yesterday I tried the plate with thickened dye. The instructions for the Gelli said not to use dye on the plate because it will stain–but the Speedball ink had already done that, so why not? Thickened dye doesn’t act like paint, it kind of streaks and blobs because of the nature of the alginate thickener (kind of like snot, really). You can’t brayer it out the way you can with ink or paint. I spread the dye as evenly as I could with a plastic spreader and then used a doily for visual texture. I still got the characteristic streaky look but I think it holds better on the Gelli than on the plexiglass.
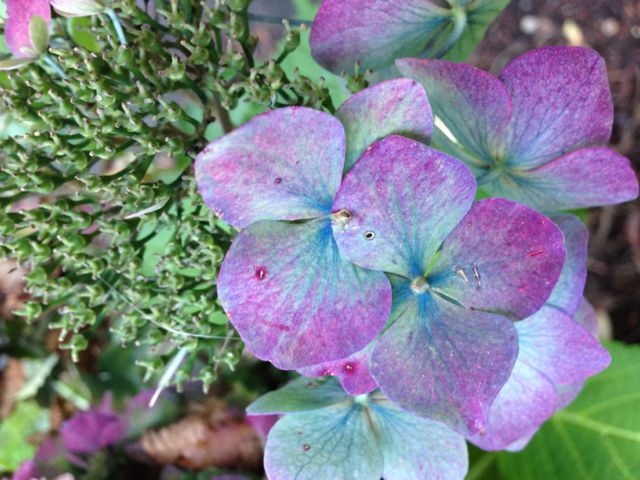
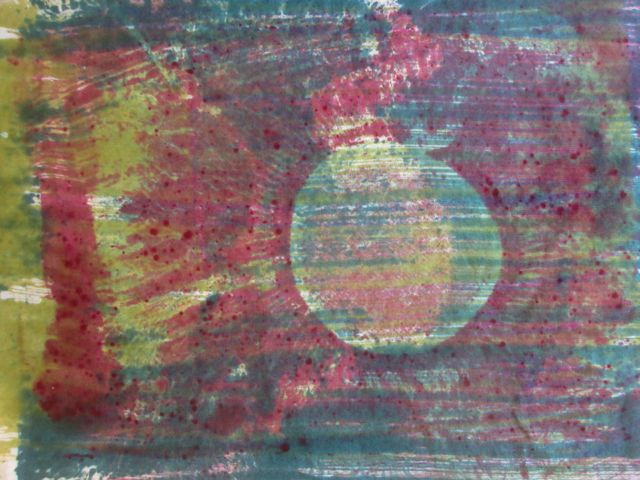
Here are a few images from yesterday’s dye session. I was inspired by the colors of the faded hydrangeas I photographed in our Arboretum. I think the images are just okay, I forgot to fully mix the Maroon dye and it left spots. Argh! But I like the layering technique and am looking forward to more exploration.

 I’m excited about this new tool but I’m frustrated by the size of the plate. The larger 12 x 14 inch plate is $70 so I’m working on making my own gelatin plate.
I’ve read the on-line tutorials and it seems pretty simple but so far I’ve made some dumb mistakes. On my first attempt I didn’t let it set up long enough before I tried to move it and it broke up into little pieces. I threw it out before I realized you can remelt it and reset it. Second attempt I jiggled it before it was set up and made a bunch of ripples in it. Damn! The good news is that once I put it in the fridge for a couple hours I was able to take it out of the pan and it looked like the ones I’ve seen on-line (with bonus ripples). I took a few prints off it anyway using dye on paper and promptly stained it! Results were meh.
I think this is what they mean when they talk about trial and error.
Tomorrow is another studio day and I’m going to try again. This time paint! I’ll report back with more pictures.

But you should have come to the class i did about Gelatin Printing ( the commercial plates do NOT have the “life” that making your own does ) and I could have shown you the pitfalls and ecstacies! It is totally addictive! My fav. form of printing … almost!
PS … be happy to show you what I know and have learned!
Ann–Just saw these comments. I’d love to talk more with you about gelatin!