 I found out this week that my project for Burning Man, Playastan Crossroads, was greenlighted for funding. I’m so excited!
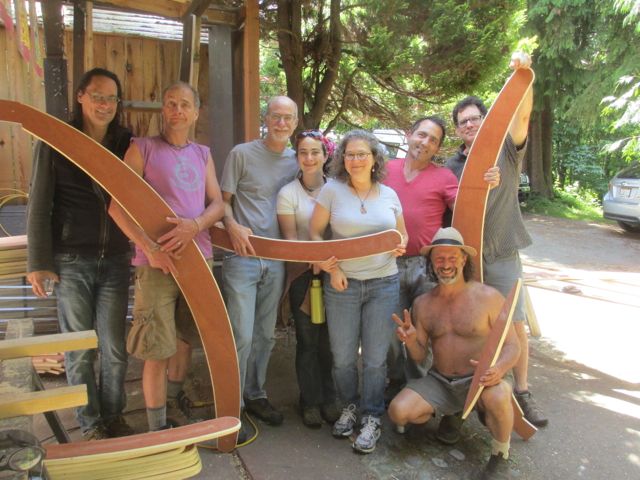
It’s a big project for me — small to medium size for the event. My team is fabulous. You know it’s going to be good when the first person you ask gives an enthusiastic, “Yes!” The team has already worked so well in putting the proposal together that I have no doubt it will be a fulfilling and successful process. Peter Weston is our lead carpenter/designer, Charlie Caddock is solar engineer, Ed Wachter did our architectural drawings, and I’m lead designer, project manager, and textile artist.
There’s a long road of hard work and many logistics to figure out between today and August 25th but we’ve got many offers of help and the energy is really, really good.
So just what is the Playastan Crossroads?
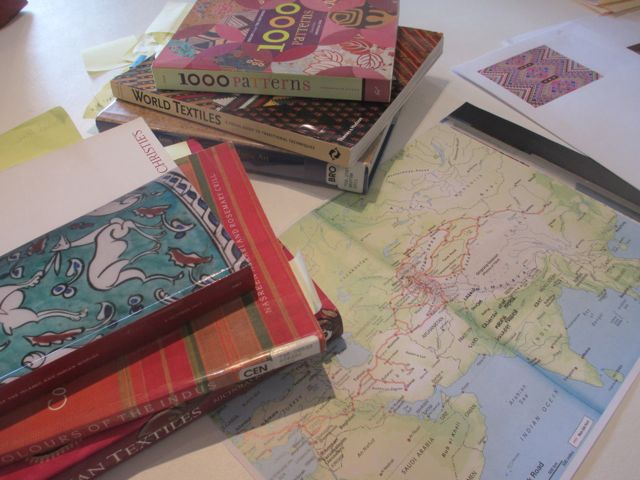
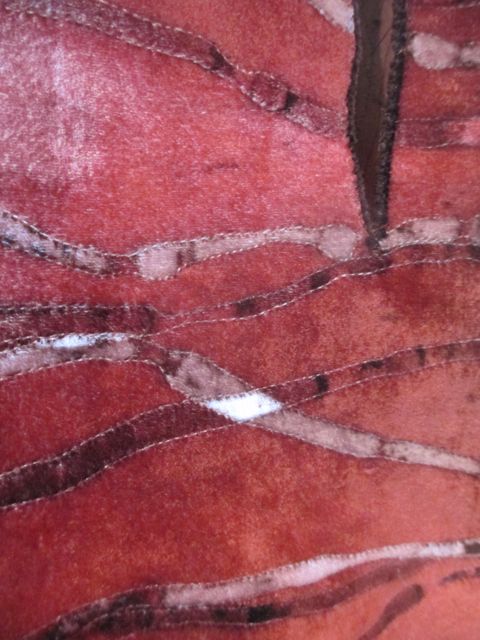
The idea is in response to this year’s theme of Caravansary. I immediately thought of the remarkable textiles of the Silk Road. It’s also a way to bring what I do, work in soft materials, to the harsh environment of the playa. Below is the text from the Burning Man art grant application for a full explanation.
I hope you can join us this year on the Black Rock Desert to watch the wind play upon the rippling silks, rest a while in the shade, add your story to the lore of the Crossroads, and see this vision become a reality.
Playastan Crossroads Statement:
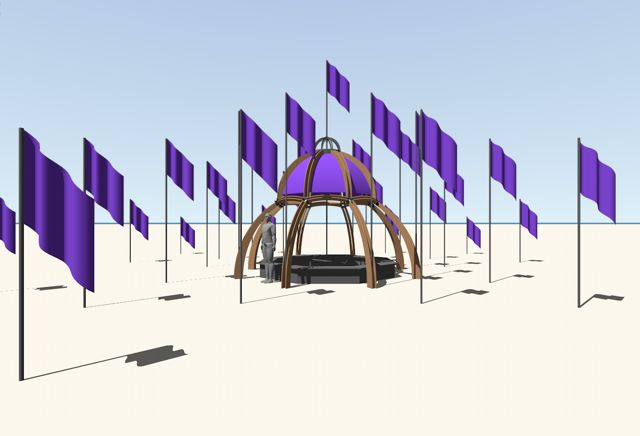
Viewed across the playa, an oasis of color and pattern emerges from the dust. It is a place to take respite among large-scale moving silk banners, each hand-painted with traditional textiles designs from along the Silk Road. This is the Playastan Crossroads, where the traditions of the past meet the visions of the future. Powered by the wind and the sun, it is a resting point, a crossroads where travelers can share their stories and experience a moment out of time.
Physical Description:
Five interconnected elements come together to create the Playastan Crossroads: a forest of painted silk banners, an elegant central wooden structure with seating, journals in which guests can add their thoughts and stories, an ambient soundscape powered by the wind, and a decorative lighting design to entertain nighttime visitors and provide safety.
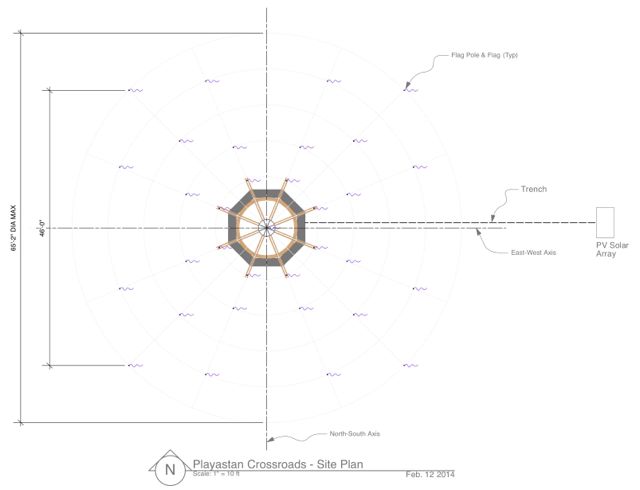
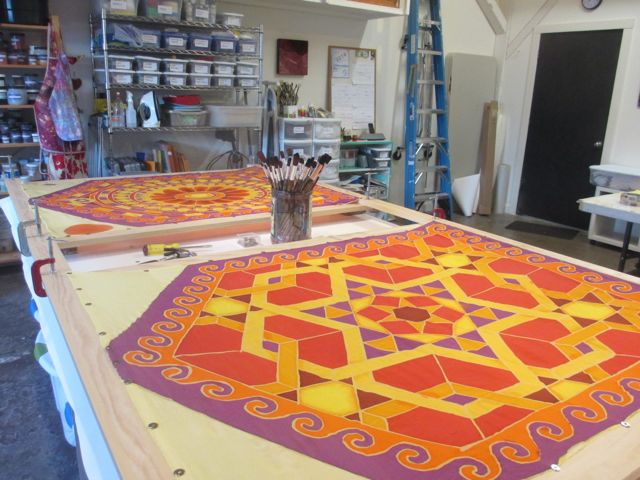
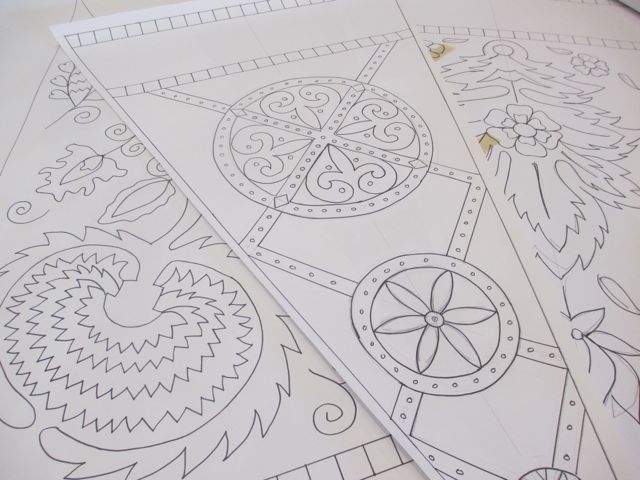
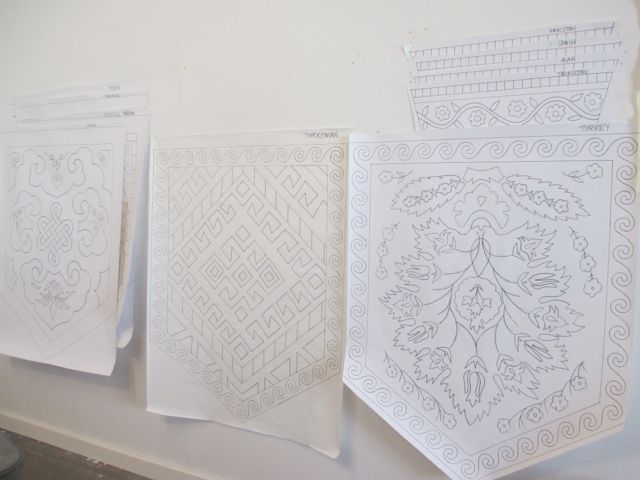
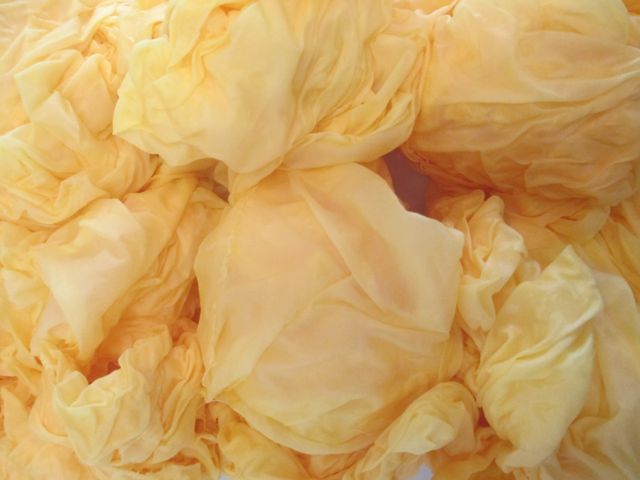
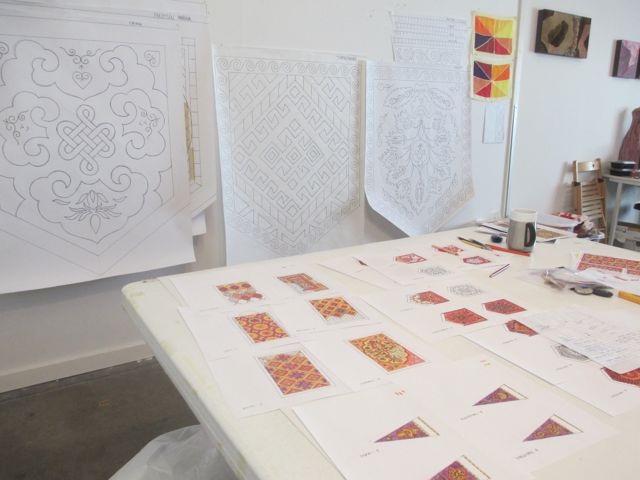
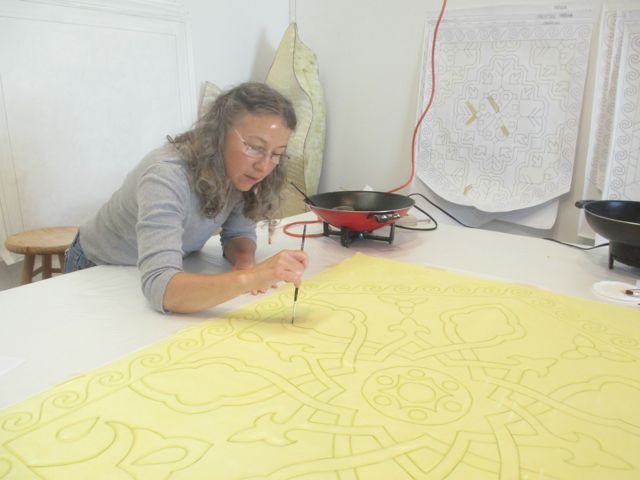
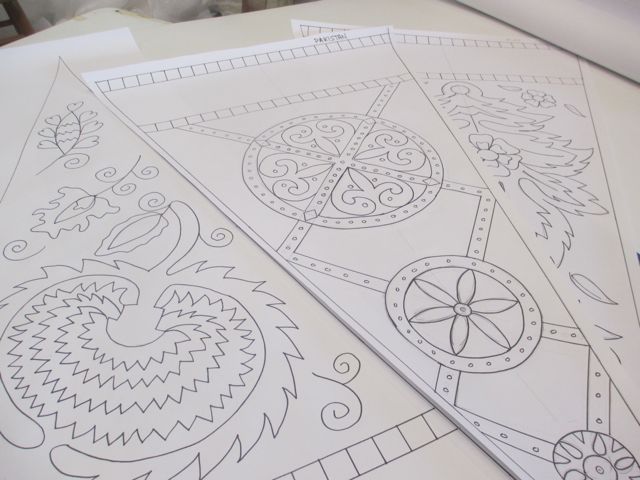
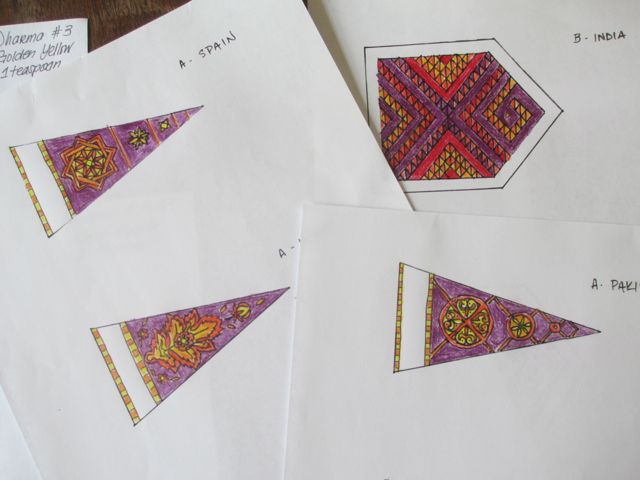
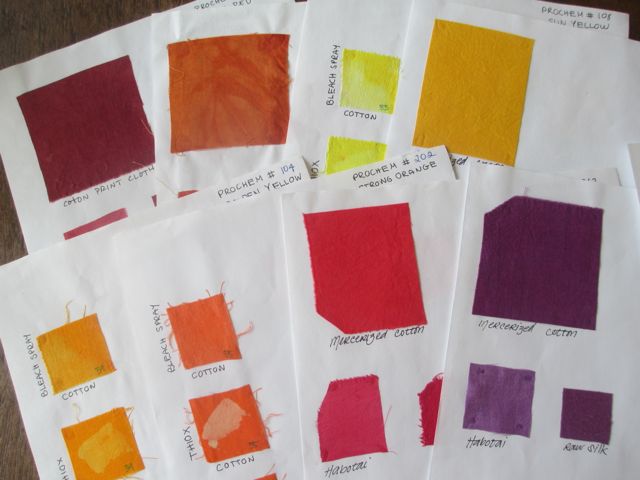
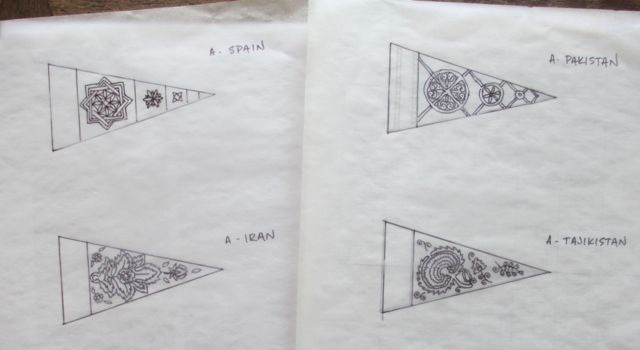
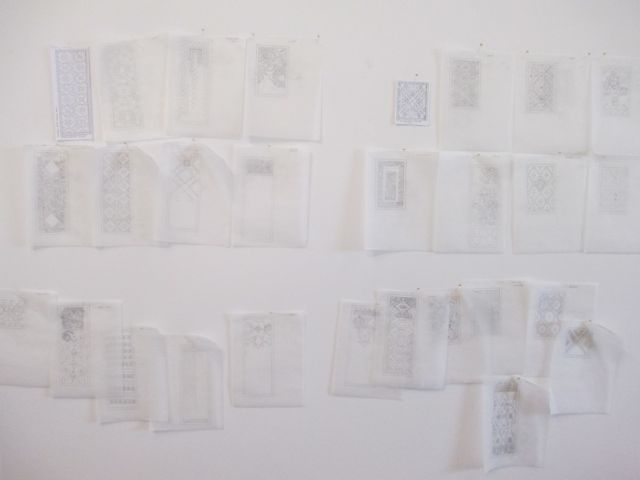
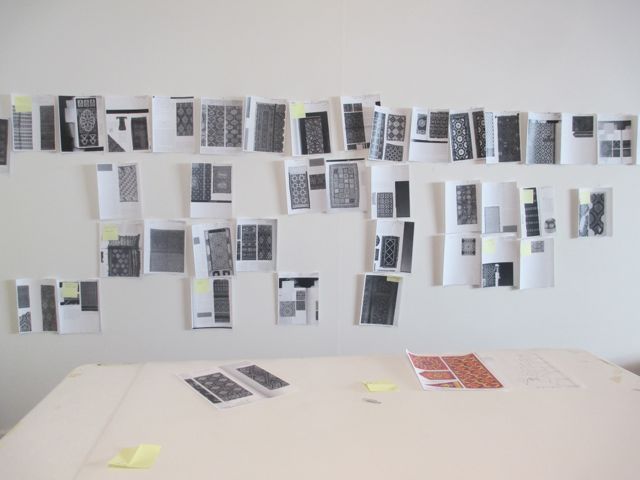
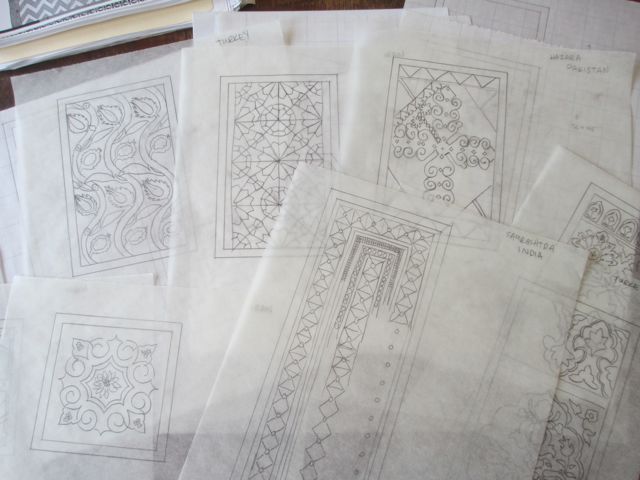
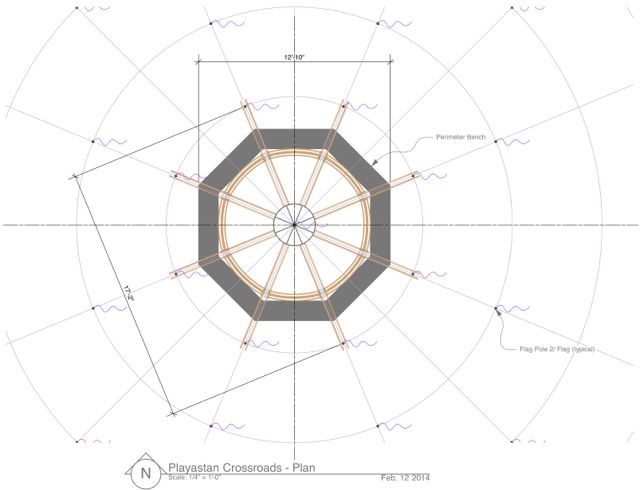
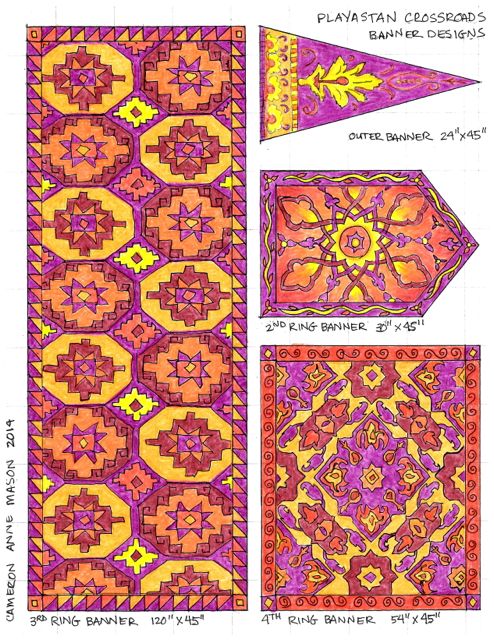 Built on an octagon aligned with the cardinal directions, concentric circles of large-scale silk banners will be planted in the playa surface creating four “silk roads” that lead to a central wooden structure. The thirty-three banners, each one unique, will be hand-painted, using a modified batik process, with traditional textile designs of the peoples who lived along the Silk Road. Four sets of eight banners will range in size from 2-10 feet tall by 4 feet wide and be hung on bamboo poles 12-18 feet in height. In shades of violet, deep red, and golden yellow, the banners will gradate in both size and color from the outer ring to the center of the wooden structure, where a golden banner will rise 21 feet above the Playa surface.
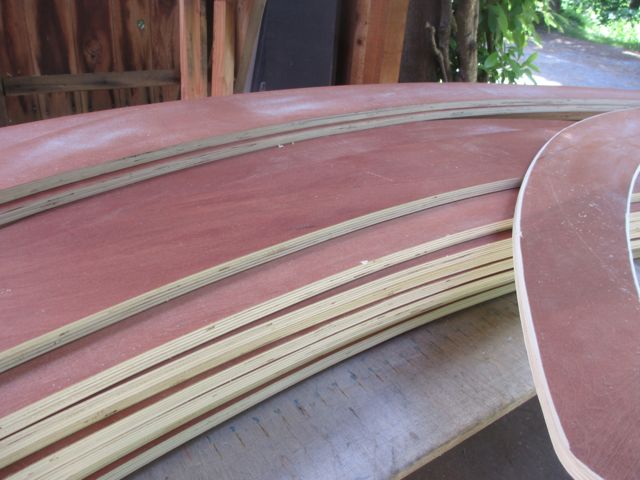
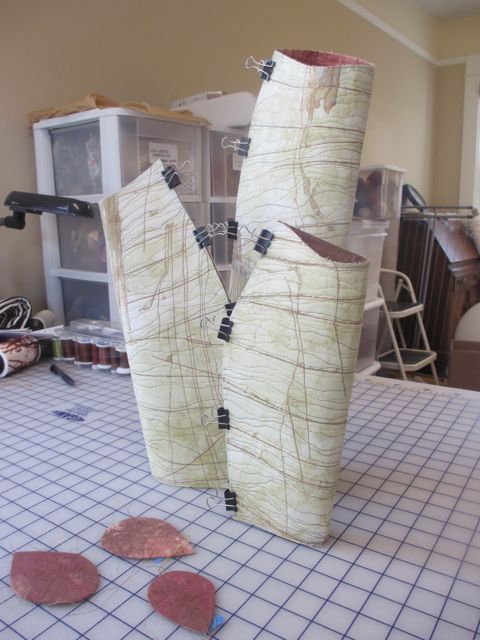
The open octagonal wooden structure is 17 feet in diameter and 13-foot-6-inches tall and, in its skeletal form, references the tents of the desert nomads. The curving shapes of the structure are inspired by Islamic arches. The wooden ribs of the structure are made from two layers of nine-ply Baltic plywood joined with a series of cedar blocks to create girders with enhanced strength. These girders will be sealed with a clear finish to show the beauty of the material. Panels of richly patterned upholstery fabric will provide shade without masking the graceful arches of the structure. Eight interlocking wooden benches will provide seating around around a central octagonal table.
 The central table will be inscribed with the cardinal directions to orient travelers. On this table, visitors will find Journals and pens (all tethered to prevent MOOP). These Journals will be hand-crafted books with with weathered pages, snippets of stories, and drawings. Here the citizens of Black Rock City are invited to add their stories to the growing lore of the Playastan Crossroads. On the highest central pole of the structure, a wind spinner provides additional motion and the music of chimes to supplement the soundscape created by surrounding wind chimes.
At night, an EL wire sculpture will glow in the center cupola of the structure. EL wire will also emphasize the graceful curves of the structure, providing an ambient glow through the night. Solar panels wired to deep cell batteries will provide lighting for safety and to add nighttime interest.