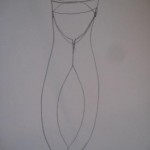
 There are a number of steps in my technique of making a 3-d fiber sculpture. I generally start with my sketchbook. I make lots of sketches when I’m planning a new series.
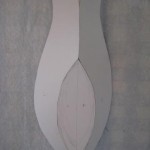 Once I have a sketch that I like I make a paper model. I use tagboard, which is thick enough to have some body but thin enough to be flexible. I just tape it together as I go, taking it apart and reshaping it until the whole thing works. Working in paper gives me a chance to work out the details before I commit to the time and materials involved in a finished project.
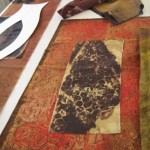 When the pattern is complete I cut out the pieces in Peltex, or some other non woven stiff interfacing product. Next I select my fabrics.
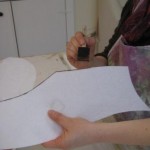 Before I go any further, I paint the edges of the peltex in a color that goes with my fabrics. It’s a very thin edge, but if it’s white it will really stand out.
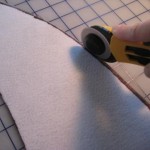 Next, I make a “sandwich” of the peltex and the fabric. I use a iron-on adhesive, like mistyfuse, to glue the fabric to the lining. I trim the edges of the fabric as I go. Once the sandwich is ready to go, there are five layers altogether: outside fabric, adhesive, peltex, adhesive, inside fabric.
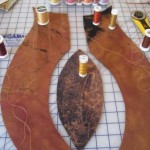 Once the sandwich is complete I choose my threads and free-motion stitch the piece.
The very last step is the sew the piece together. I use a zig zag stitch when I want the pieces to lay next to each other, and a regular straight stitch when the pieces overlap.
